I haven’t shared very many photos of the main room in our apartment (besides this view) for two reasons… 1) that fireplace honestly is the highlight of our place and 2) until this past weekend the room hasn’t felt complete (although when it comes to home decor are you ever finished?). The wall above our couch was in need of some piece of artwork or a gallery wall of sorts however it took me a while to figure out exactly what would look best without over powering the room, making it feel smaller than it already is. White on white was the best answer because it adds detail to the wall without closing in the room. I’m pretty proud of my handy work (well my guy helped out too) and I of course wanted to share the outcome with you.
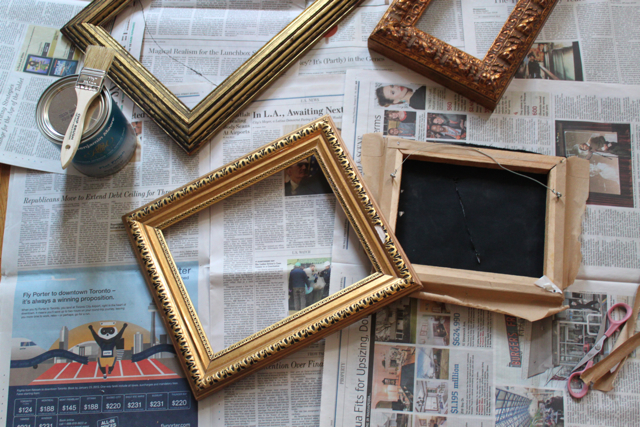
Step 1: Hunt down frames at local flea markets and antique stores. I found a couple pictures at Housing Works for $5 each. If a frame is chipped or cracked this just adds character and honestly won’t be noticeable once painted.
Step 3: Wipe down frames, prepping them for paint.
Step 4: Paint two coats of white paint and let dry overnight.
Step 5: Add picture hooks to the back of frames for hanging. (Be sure to measure so they are in the middle.)
Step 7: Now the fun part! Pull furniture away from the wall and start building your gallery wall. Maybe I should have measured but we just eyeballed the project adding each frame in various horizontal and vertical positions.
Voila! This is just the start. I’m planning to add a few more frames to the mix soon.


